Showing posts with label Cakes. Show all posts

Tuesday, April 22, 2014

Macaroon Madness - 3 times a charm :)

I have a sweet tooth for great desserts made with love and BUTTER!   :)   
Julia Child would love me for that line!


When I was in NYC visiting my best-mate, I had my first taste of macaroons and was in love!  I mean I adore cupcakes, but macaroons are right up there on the list for me now.  I searched high and low for recipes.  I was worried that it would be too difficult to achieve greatness and searched east and west for the items I would need.

 Now believe it or not, I searched the entire town for a flour sifter, you know like your grandmother or mother used to have....NO WHERE!  I was so mad, I called by best-mate to complain about it...well that and the fact that I don't yet own my dream KitchenAid mixer that would make my entire cooking life so much easier.....oh well, one day.  Until then, I am mixing everything by hand, or so I thought.  And I ended up buying a fine mesh strainer from the local WalMart to use as my sifter....somebody tell me where to buy a real sifter!!

Here is the recipe I have been using, which was found on pinterest:

Easy Macaroon Recipe
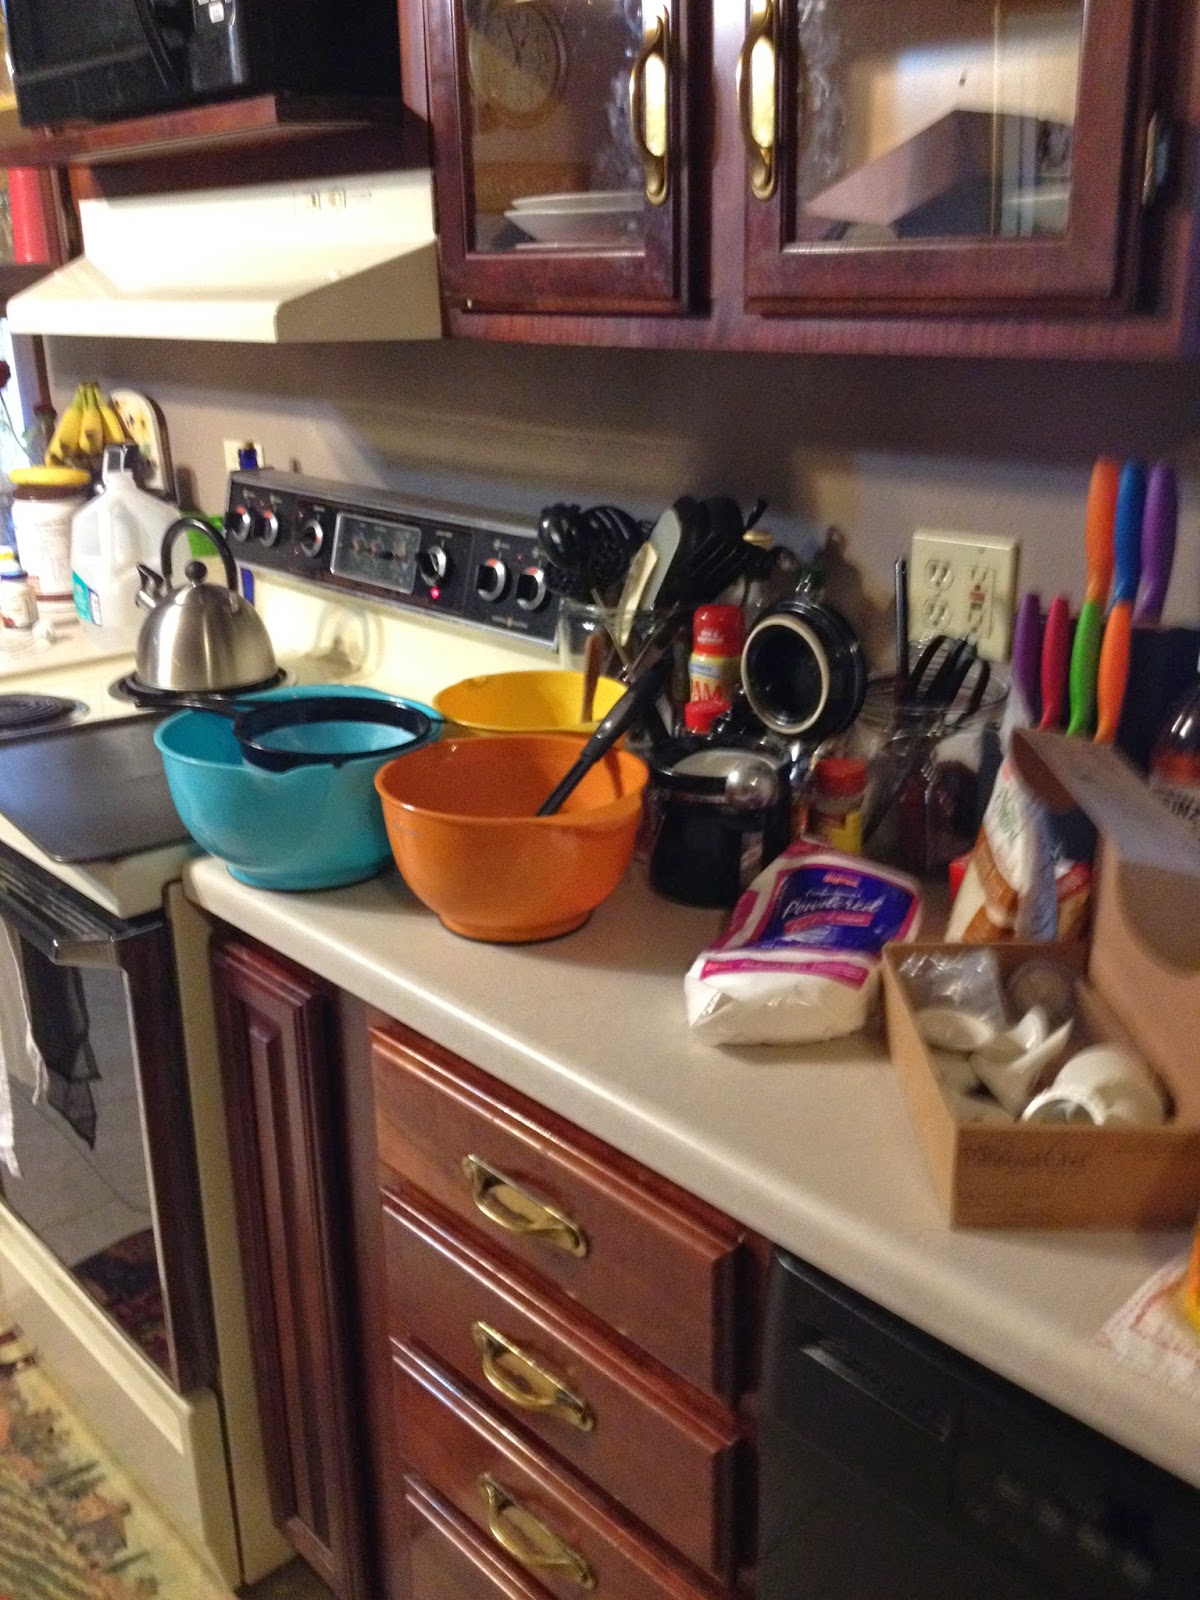


In a large bowl sift 1 cup of powdered sugar and 1 cup of almond flour (found at my local grocery, health foods section)  Lightly mix the two together and set aside.


In another bowl, separate 2 eggs leaving only the whites in the bowl.  I used my lovely Egg Separator to make this job a little easier for me.   Now the trick is that if you plan to "color" your macaroons to use a gel coloring and add to the egg whites prior to beating them.
cold eggs gave me better "peaks"


 For the first batch of macaroons, I beat my eggs by hand....NEVER AGAIN!!  The second batch I borrowed a friend's hand mixer and by the 3rd batch I had bought my own hand mixer :)


Beat your eggs to soft peaks, then add 1/4 cup granulated sugar a little at a time while continuing to beat the eggs to stiff peaks.  Ideally you should be able to tip the bowl upside down when you are done and nothing will move :)  I finally got there on the 3rd try!!

Slowly fold the almond flour/powdered sugar mixture into your beaten eggs.  It should slowly become dense and sticky.

For the first and second attempts I used my Easy Accent Decorator with the widest tip to pipe my batter onto the cookie sheet.

For round 1, I used just a cookie sheet.  For rounds 2 and 3 I used parchment paper on my cookie sheets....this seemed to work much better!  No sticking to the pan and the cookies cool faster because you can pull the paper from the cookie sheet right away.


Once the macaroons are on your baking pan (with parchment paper if you have it)....drop the pan on your counter 2-3 times to flatten and get the air bubbles out of the dough.   Bake at 325 degrees for 7-10 minutes.

Now to make your filling:  I used just a simple buttercream recipe like the one on the recipe, only I added a splash of vanilla extract to mine for flavor because that is what my mom and grandmother have always done :)

Again, I did this by hand for the first batch (which was used for the 1st and 2nd round of macaroons) and then with my electric hand mixer for the 3rd batch.

When you macaroons are completely cooled....don't rush this or your delicate buttercream will run all over the place ! ( I know from experience - what a sweet mess I made ) .... pipe your icing on the flat bottom half of one macaroon and top with another macaroon giving a slight twist to keep the icing bonded to both.  I used a small sandwich bag and snipped the corner to use as a piping bag...so easy! 

BATCH 1 - handbeat with no parchment paper


BATCH 2 - electric mixer beat with parchment paper


 Now on the 3rd batch I used the Medium Scoop,
 to try and get the nice even and rounded look of macaroons I have seen.
My friend and teammate, Paige was my assistant for batches 2 & 3 :)

BATCH 3 - electric mixer beaten, parchment paper, scoop for correct sizing.

All sweet things are best shared with friends!

I have so enjoyed this experience!!!  Macaroons aren't as hard to make as I once thought and now I have a routine in making them.  And they are really easy to get rid of...image that :)   The next batches we will be playing with flavors and chocolate: Raspberry with chocolate ganache filling....stay tuned!

~Happy Husband Approved~
~Ginger Princess Approved~
~Midwest Maidens Roller Derby Team Approved~

Tuesday, April 15, 2014

Buffalo Chicken Baked Ring

So as I planned the meals for this week, I picked 3  recipes to try that would also stay within my 400-600 calorie supper meal guidelines. I also wanted items that were "soul foods" in our house.

The first recipe is  Buffalo Chicken Ring which I found while skimming Pinterest.

This recipe serves about 6 people and is about 500 calories per serving.


I started with by placing 2 chicken breasts in my Deep Cover Baker.  I lightly coated the chicken with olive oil and sprinkled about 1/4 package of Hidden Valley Ranch mix over the top.  I then placed the covered dish in my microwave for 5 minutes, flipped the chicken and cooked another 5 minutes until fully cooked.

While the chicken was cooking.  I mixed my ranch dip.  I added the remaining mix to 1 - 8oz package of fat free cream cheese and stirred until fully incorporated.


I then set this mixture aside and prepped my baking pan. 
 I continue to wish I had a Large Pizza Stone, but used a baking sheet at this time.

This is 2 cans of reduced fat crescent rolls.
When my chicken was fully cooked ( the deep covered baker makes the most moist chicken ever!) I cut into chunks and used my electric food processor for the first time in my life : ) This was fantasic!


Once my chicken was finely chopped, I combined with my ranch mixture.  You may notice that I am not adding the celery that the original recipe calls for, I truly dislike celery so this was my option of change.

Add your desired amount of Frank's RedHot...I like it spicy. I used about 3/4 cup.

I added about 1/4 cup of shredded fiesta style cheese to the mixture as well.

Now to scoop the buffalo chicken mixture into your ring.


again, I added 1/4 cup of shredded cheese to the top of the ring.

When you wrap your ring, lift the crescent up and then angle to one side, continue in the same direction with all crescents all the way around.  
I pinched the dough together in the center of the ring and any holes around the edges.

Bake at 375 degrees for 20 minutes.


Cut into 6 pieces and serve :)  This is most definitely ~HAPPY HUSBAND APPROVED~ he was grinning ear to ear with this one!  Because I made this to our adult taste, it was not served to the Ginger Princess.


This recipe took about a total of 35 minutes, start to finish.

Next time I may make with a blue cheese seasoning instead of ranch.

Wednesday, April 2, 2014

Chicken with Maple-Mustard Glaze and steamed greens

 This week I started my first Isagenix 30 day cleanse and fat burning cycle.  As part of this "system" I am blending meal replacement shakes with fruits for breakfast and lunch and enjoying a 400-600 calorie meal with my family for supper.

Last night was the first night and I hadn't thought very far ahead, but knew I wanted a little zing with my supper.   I found this glaze recipe on the Pampered Chef site and decided to give it a try, as I had the ingredients on hand.

Chicken with Maple-Mustard Glaze


I started by making 2 chicken breasts in our  Deep Covered Baker 

Brushing just a bit of olive oil over my chicken and sprinkling with  Chipotle Rub  , then the covered baker was placed in the microwave for 5 minutes.  The chicken is then flipped and placed in microwave for remaining 5 minutes.  Please check to make sure your chicken in no longer pink in the thickest areas before serving.

We had purchased a bag of fresh spinach and kale from the store.  I wilted this over a medium heat in a covered pan with just a touch of olive oil.  Once wilted, I add a little chicken dripping from my deep dish baker, the syrup, mustard and vinegar.  A bit of salt and pepper to taste and it was complete.

I didn't have my camera on hand, but I plated the glazed greens and places the sliced chicken on top for presentation.  The maple-mustard glaze was a nice compliment to the chipotle heat :)

~Happy Husband Approved~ and healthy!
Tuesday, March 11, 2014

Fabulous French Onion & Mushroom Soup


**French Onion & Mushroom Soup **

-6 Tbsp Butter (3/4 stick), divided
-6 oz French bread, sliced into 16 (1/2") slices
-8 oz cremini mushrooms, quartered
-5 large sweet onions
-3 garlic cloves, pressed
-1 Tbsp sugar
-1 Cup dry red wine (such as Cabernet Sauvignon)
-3 Tbsp flour
-8 Cups unsalted beef stock
-2 tsp salt
-1 tsp ground black pepper
-3 sprigs fresh thyme, plus 1 Tbsp leaves
-6 Oz Gruyere cheese, shredded (1-1/2 Cups)

Directions
1. Melt 1 Tbsp of the butter in Dutch Oven over medium heat. Toast bread 1-2 minutes per side or until light golden brown; remove bread; set aside.

2. Add 1 Tbsp of the butter and mushrooms to the Dutch Oven; cook, uncovered 8-9 minutes, or until mushrooms are deep golden brown, stirring occasionally. Remove mushrooms.

3. Meanwhile, slice onions with Simple Slicer on #2 setting. Add remaining 4 Tbsp butter, onions, garlic and sugar to Dutch Oven, cook, uncovered 25-30 minutes or until onions are dark brown, stirring occasionally.

4. Add wine; cook, uncovered, 5-7 minutes or until liquid is no longer visible, but onions are still moist. Stir in flour, cook 1 minute. Stir in stock, salt, pepper, and mushrooms. Insert thyme springs into Herb Infuser, add to soup. Increase heat to medium-high. Cook, covered, 8-10 minutes or until soup comes to a gentle boil. Remove from heat and remove Herb Infuser.

5. Preheat broiler. Arrange toasted bread over soup; sprinkle evenly with cheese. Place Dutch Oven 2-4 inches from the heating element; broil 2-4 minutes or until cheese is bubbling. Remove from oven; sprinkle with thyme leaves.


~This recipe comes with the RockCrok, which is why there is not a recipe link.  If you would like the traditional Pampered Chef French Onion soup, the recipe is  HERE - (French Onion Soup). ~
Yes, that is a BACON hand towel on my oven door :)

I will say that this recipe took me almost 90 minutes from start to finish, but it was truly an act of love.  I enjoyed every moment of preparing and eating this dish!  To start, I opened my bottle of Cabernet Sauvignon, poured myself half a glass and let the bottle continue to breath as I prepared my vegetables.  I also made myself a little snack, using balsamic vinegar, olive oil and Pampered Chef garlic/Parmesan seasoning and the end of the loaf of bread :)


Treat yourself like a Pampered Chef and enjoy the experience!


Melt your tablespoon of butter on medium heat in your pan and toast your slices of bread (2 mins on each side)  Covering the bottom of the pan to toast your bread will make sure you aren't wasting bread that won't fit on top in the end.  When toasted, set aside on a plate.


Add another tablespoon of butter and your mushrooms to the pan. 
Cook uncovered for about 8 mins. until golden brown.


Slice your onions and garlic as your mushrooms are cooking down, stir them occasionally.
When mushrooms are done, remove them and place in a bowl to the side.
 Add the rest of your butter, garlic, onions and sugar to the pan.
Cook for 30 minutes or until the onions are dark brown or cooked to your liking. 
I prefer my onions to still have a fleshy texture.

Start

Finish


 Add wine and cook down, add flour and cook for 1 minute,
 then add your stock (veggie if you prefer) and mushrooms.

Wine added


Stock and all other ingredients ready...we have soup!


Pre-Heat your broiler.  
Top the soup with your toasted bread, sprinkle with shredded cheese ( I used mozzarella)
Broil for 2 minutes until cheese is bubbly and delicious!


And SHAZAM!  Amazing French Onion and Mushroom Soup!


Happy Pampered Chef!

Great for our cold South Dakota day!


I feel like this recipe definitely earned me kitchen goddess experience points! 
 ~ Happy Husband Approved ~

Egg Salad, in the form of a tea sandwich

I had a co-worker once that loved egg salad sandwiches, and the idea seemed awful to me.  But as I continued to think about it; I like deviled eggs and potato salad...it can't be all that different or bad, right?!  Well, I wanted an excuse to try my Cut & Seal to use for tea parties in the future and just happened to have some eggs in the fridge....so here we are :)

Egg Salad

Now in hard boiling eggs, my preference is 15 minute boil.  I add 1/4 salt to my water and IMMEDIATELY put eggs in an ice bath after the 15 minute boil.  I have found that this combination will make for easy peeling for even farm fresh eggs.

This is a simple recipe and I believe most people would have the general ingredients already available in their homes. I didn't add celery, pickle or red bell pepper because I didn't have it on  hand, nor do I really want that in my sandwich.....maybe I will try it next time. I just happened to have Dijon Mustard left from a recipe I made a few weeks back, but otherwise I would have used regular mustard.


 I mixed up my eggs, mayo and mustard...a little salt and pepper.


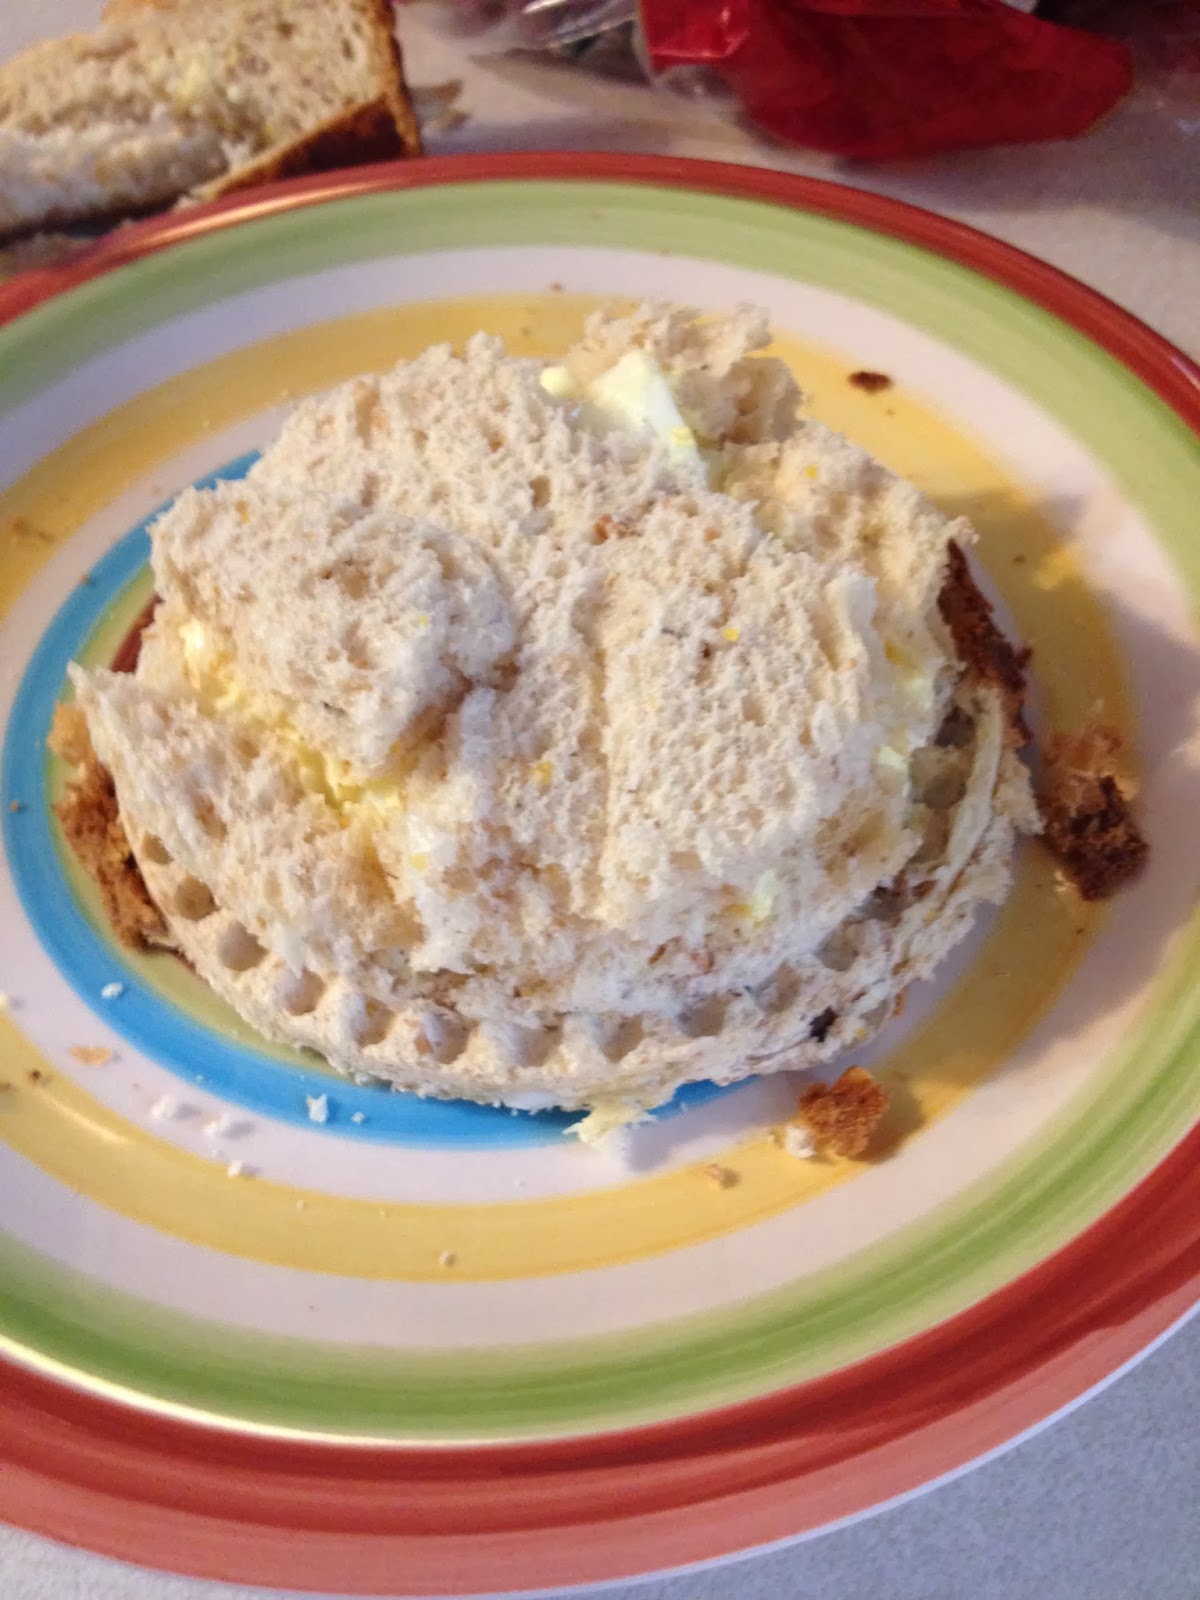
 I attempted to place an even scoop on my bread.  I used my favorite 12 grain bread, but realize that a nice soft white without seeds would have made for an easier press with my Cut & Seal and would have turned out looking a bit prettier.


 For my first attempt at egg salad and using my Cut & Seal, I was pretty happy.  Next time I make tea sandwiches, I will definitely use a different type of bread.

I approve of this recipe, as this was my lunch last week Friday :)

Thursday, March 6, 2014

Soup du jour -- Mean and Green for St. Paddy's

This week was cold and snowy....March came in like a LION for sure.  I eat a lot of soup in the cold months, I enjoy a hot meal and soup usually isn't terribly high in calories.

This week I made:

Spinach Tortellini Soup

This is a super easy soup recipe, which again I took my own liberties with :)  For this recipe I used frozen spinach, as it is something we keep on hand.


For this recipe, my husband chose his favorite tortellinis...3 Cheese by Buitoni. 
We have 2 cans of chicken broth - you could substitute veggie stock to make this a vegetarian meal.
A can of reduced sodium Northern beans, garlic and frozen spinach.
1 good pot....I used the RockCrok from Pampered Chef.

I added 1 tablespoon olive oil to my pan with my fresh pressed garlic and let that warm and infuse prior to adding the chicken broth and water.  
The broth was brought to a boil and then I added my tortellini, cooking about 10 minutes. 
 I turned down the heat; added my spinach and drained beans. 
The soup was cooked for about 20 minutes, stirring occasionally.

Spinach has many health benefits and is great for Mean Green St. Paddy's soup du jour!
~The Ginger Princess was not impressed, but my husband was!~


Thursday, February 27, 2014

Big Taste In Little Bites

I really enjoying baking in miniature.  Mini cupcakes are my favorite, they are just so cute and delicious and when it is small I feel a lot less guilty for eating it!  So, why not bring this idea over to dinner.  Portioning is an issue for many trying to drop pounds, I know it has been a struggle for me.  Minis keep my portions in check without losing great flavors.

Tonight's recipe is:

Pampered Chef - Mini Turkey Pot Pies


Now I took great liberty with this recipe, literally using what I already had in the kitchen.  I am not a "recipe" type cook so you will notice I am always adding or leaving out items in a recipe.  I like to use what I have and what my family enjoys, so feel free to do the same :)  Also, I do as much as I can while creating as few dirty dishes as possible.....if you enjoy doing dishes more power to you!

For my crusts I am using plain old crescent rolls ( 1 had bought two rolls for taco ring and decided to only use 1).  Our pot pie will consist of ground turkey, garlic, peas and chicken stock.  I do not yet have the mini pie tins, so we are improvising with a regular sized cupcake pan.


Ok, here we are....
1 skillet, 1 spatula, 1 crescent roll, 1 lb. ground turkey, 1 can chicken stock, garlic, and garlic press. 

Preheat your oven to 375 degrees.

I  started my ground turkey and fresh garlic mix cooking on the stove top, stirring occasionally.  Between stirring, I cut my crescent rolls in half and started to shape in my muffin tin - this could be an area your children could help you :)  I then popped this pan in the oven for 5 minutes, until just lightly tan. Remove to fill with pot pie mixture.


While my crusts baked, I added frozen sweet peas (my favorite vegetable!) and 1 can chicken broth to my cooked turkey.  I only added a 1/2 can of water to the broth, as my frozen peas will release water upon cooking.  I brought this all to a boil (get those peas warm).  To this I added 1 tablespoon Poultry Seasoning and started to slowly add cornstarch to thicken, 1 tablespoon at a time while stirring briskly, until desired consistency was met.  Remove pan from heat.  I then scooped 1/4 cup of pot pie mixture into each mini pie.


Once all pies are filled, I placed the tin back in the oven to bake for 5 more minutes, and presto....
EASY AND DELICIOUS MINI POT PIES!


This is another easy and KID FRIENDLY, 25 minute recipe!
~Ginger Princess Approved~

Cooking together is just as important as eating together :)

Fabulous Flavor in a Fun Size! Big Taste in Little Bites !

We are cooking up more recipes for next week, so don't go too far.

Tuesday, February 25, 2014

Mexican Fiesta - Taco Ring Supreme

 Hi, I'm CAKES - a self proclaimed kitchen goddess.  My specialty is ....cupcakes, yes that is how I got the name...but I am always challenging myself to try new, healthy and fun recipes for my family and friends.

Recently I was asked to facilitate a Pampered Chef Bridal Shower.  I wasn't sure what to make. I mean, personally I would make sweets and tea sandwiches, but that is my taste.  I started thinking about what the Bride to be's likes are and decided on a Mexican appetizer as one of the items I will make.

This is the recipe I chose:

The Pampered Chef - Taco Ring

You will see in the link that all Pampered Chef tools for the job are conveniently listed, believe it or not they work...but if you don't have it....DON'T WORRY!!  I don't  have it all either :)


The recipe is simple and we love tacos in our home, so of course we prepared for a test run making only a half batch of the recipe listed.    
Lucky for me I had the help of my adorable Ginger Princess.

I prepared our meat, we use ground turkey as a healthier option in our home.  I also used a few fresh cloves of garlic and used my Pampered Chef garlic press to add the garlic to the pan.  Once the meat was fully cooked, I added the taco seasoning (low sodium) and water, once mixed we also added beans.

My daughter helped me create a circular pattern on a cookie sheet with our crescent rolls, as we don't own the round pizza stone.  I scooped 1 heaping Tablespoon of meat/bean mixture onto each crescent roll.


I then wrapped the loose end of crescent roll over the mixture and baked for 10 minutes at 375 degrees.


While the taco ring was baking we moved on to our toppings.  THIS IS THE PART THAT MAKES IT SUPREME!!  I love a nice fresh salsa or guacamole with any taco meal!  For this evening, I used my Pampered Chef manual food processor (my all time favorite item!) and made a tomato/avocado salsa. I chucked 2 medium tomatoes and 1 avocado and placed in the manual food processor.  My daughter helped me with the processing part, because the mechanism is truly that easy to push and creates over 30mph action in the blades......voila!  SALSA :)   To this mixture I added some cilantro and the juice of half a lime.


When our ring was finished baking, 
I placed a nice lettuce leaf in the middle of the ring to create a bowl for our salsa.  

Now if my husband had his way, we would also garnish with shredded cheese.
I chose corn instead :)

This recipe took me 25 minutes tops to prepare and was a hit with the whole family!  
~Ginger Princess Approved~

Don't be afraid to change up recipes to suit the tastes of your family and friends, experiment with your tastes and  taste combinations and just have FUN!